Wednesday, June 27, 2012

{MWW} Barbeque Chicken


Crock Pot Barbeque Chicken

 Busy summer adventures. Husband who works long hours. Active toddler.  What do all of these things have in common?  They are a few of the reasons I have been using my crock pot to prepare meals.  That and the rewarding feeling of accomplishment when you put the ingredients inside, close the lid and celebrate that dinner is planned hours before you need to feed the family! 

I found today's featured meal via Pinterest. The post was by Six Sisters' Stuff  whom I follow on Pinterest as well as read their blog.


 The initial post with the Crock Pot Barbeque Chicken recipe highlighted in "50 Easy & Delicious Chicken Breast Recipes" is here.  Below you will find my tutorial and commentary!

Ingredients:
4-6 pieces boneless skinless chicken breasts
1 bottle BBQ sauce {I used an 18oz bottle of Sweet Baby Ray's Original BBQ sauce}
1/4 c vinegar
1 tsp. red pepper flakes
1/4 c brown sugar
1/2 - 1 tsp. garlic powder {I used about 3/4 tsp.}

 Place chicken breasts in crock pot


 Empty bottle of barbeque sauce into a mixing bowl.
Add vinegar, red pepper flakes, brown sugar, and garlic powder.  Mix well.

 Pour sauce over chicken breasts

 Cook on LOW for 4-6 hours

 Volia!  

Dinner is served!
We enjoyed this chicken with green beans and a light salad. 
There are definitely a lot of items this can be paired with. 
I am thinking of potato wedges for next time. Maybe rice? 

This chicken got raving reviews from my family!  I must note that the red pepper flakes definitely give it a kick but it is delicious!  When I pulled it out of the crock pot, it was very tender & moist and started to fall apart while transferring to a plate. My 15-month-old devoured the chicken and asked for more.  My husband {who loves things spicy} had seconds and told me that I could definitely add this to our meal rotation!  I love getting compliments on a new recipe - especially from the man of the house!  He ate it again the next night and the left over sauce is currently in our fridge waiting to spice up the next piece of meat he eats.  I am definitely going to make this chicken again in the near future...like this weekend. When it's good, it's good!  If you choose to make this recipe, please leave a comment regarding your cooking experience, your audience review and what you served it with.  Enjoy!  

Saturday, February 18, 2012

red and pink

Oh, Valentine's Day!  I love to decorate for this special day of expressing your love for one another; it might be my love for pink but nonetheless, our home gets a little extra red and pink lovin' from about January 14 until March 1st each year! This year was extra special as it was our little love's first Valentine's Day.  We of course had to send out special Valentine's Day cards to our family and friends letting them know their love is such a blessing. Below is a  recap of some special Valentine's decor and creations that we used in our celebration this year.

Mantel decor created by yours truly:
red glitter felt heart in black frame
black/white heart scrapbook paper framed
pink felt swirl heart framed
red heart scrapbook paper framed
"Be Mine" fabric pennant banner

I lalala-love this heart felt wreath!  I found the tutorial here and just knew I had to make one for our home.  I actually encouraged 2 friends to make the wreath which prompted a few crafting afternoons and fellowship with some dear friends.  I must admit that the cutting of circles is a bit tedious and time consuming but totally worth it!  We each tried a different method of cutting the circles and I must say that pinning multiple circle tracers on the felt and then cutting them out; replacing and repeat worked the best. I love the wreath so much that I made a circle wreath for Halloween with black glitter felt!

Bookcase decor:
XOXO frames- letters cut with Cricut and mounted on assortment of Valentine's Day scrapbook paper
Tealight candle log with pink rose petals {they are actually from our wedding day!}

Pink Heart Rice Krispie Treats
I made these tasty treats for our church small group meeting we hosted this month.
Just add a few drops of red food coloring and mix until desired color is created.  After cooled, use a heart cookie cutter and press cutter through Rice Krispie treat layer to create heart shaped treats.  Use the remaining edges and mold together to create a large heart and give to your husband as a special treat. {Only do this step if you want to do just as I did!}

Heart Love Notes
This year, I created this book of love notes for my husband.  We used the verse "For I have found the one my soul loves." on our wedding invitations and I try to include it in special gifts/mementos like the cover of this love note book. I took 14 different colors/shades of scrapbook paper and cut a heart out of each of them.  I then punched a hole in the top left and put on a metal ring. Each day from February 1st to February 14th, I wrote an  "I love ___." statement about my husband.  The little book was placed on the hook where my husband keeps his keys and each morning he would remove the book and read the new entry before going to work.  I believe in the power of positive words and encouragement and I loved taking this opportunity to remind my husband again just how much I love him!  It was a perfect fit for us as I tend to show my love through words of affirmation and my husband's receiving love language is gifts!


I also featured this adorable black tie with little colorful hearts and a red felt applique in my etsy store.
Yes, that is my handsome little love modeling the adorable Valentine's Day attire! Aren't those baby legs adorable! 

Friday, February 3, 2012

new month

Happy February!!

It truly amazes me how fast time goes and the need to embrace each moment and season of life. The journey is exciting and I have such hope for the future knowing the author of life is writing a magnificent story for me and my family.  God revealed more of his perfect plan to us in January and man, are we on an adventure!  While I am trying to wait patiently and live in the present moment, I have been investing time in my son, MOPS, MP3, and my etsy store!  Unfortunately all the ideas and plans in my head have not become a reality yet, I do have some new creations that I'd like to share with you and are available in my etsy store if you have not seen them there already.


L-O-V-E onesie with a heart on the tush and near the wrist on each arm sleeve.
Letters and hearts made from red glitter felt.


 Valentine's Day tie onesie or shirt.
Fabric available in 5 different patterns and adorned with a red felt heart.


I am now featuring birthday shirts!
This robot shirt was made for a friend's little who was turning 5.

If you are interested in any of these items please visit my etsy store and send me a conversation message or contact me at foreverfancybyfaye@gmail.com.  I also welcome new ideas and love making your visions a reality. Think about it and contact me!

Wednesday, January 25, 2012

{MWW} Valentine's Day Marshmallow Pops


I love Valentine's day and all the yummy cuteness that corresponds with the day of love!  I found these scrumptious and adorable marshmallow pops on Pinterest and decided to make my own!  


Interested in making them for you and your loved ones?! 
The process is super easy and explained below.


You will need large marshmallows and lollipop sticks.
I used Jet-Puffed regular large marshmallows.  
{The tutorial I found on Pinterest used strawberry flavored.}
I used reusable lollipop sticks that I received in my cake pop set.  
Wilton sells lollipop sticks or popsicle sticks will work just fine!

You will also need chocolate and candy.
I used Wilton Candy Melts in lavender color as well as Wilton Valentine's Day sprinkles.

Step 1:  Place marshmallows on lollipop sticks.
Step 2: Melt your chocolate and prepare your sprinkles.
{I kept the ones with shaker spouts in their containers but placed loose sprinkles in bowls.}


Step 3: Dip your marshmallows in the chocolate.

You can cover the marshmallow 1/2 way...

...or completely cover it.

Step 4: Dip and twirl your chocolate covered marshmallow in the sprinkles.

Isn't it cute?!

Step 5: Place the pops in an upright position for the chocolate to set.

Step 6: Decide what to do with them!
Will you share with your family?  Package and give them away?
Maybe you will prepare them individually...

...or place a few of them together and package them for your loved ones.

There are so many options-whatever you decide may you enjoy creating your cute and scrumptious marshmallows!

Saturday, January 14, 2012

candy box slip cover


you Rock
candy box slip cover
I am sure you have experienced a season of life that is just overwhelming and seems to drain your energy and stamina to remain positive.  One of my dear co-workers was going through a significant situation in her life and I was determined to encourage her and let her know that I was there to support her through it all. We were working retail so I wanted to give her something that might bring some comfort and cheer while working her shift.That is when the idea of the candy box slip cover came to be!  A little piece of chocolate and peanut butter always makes things better, right?!


I decided to use a large box of Reese Pieces.  Unfortunately I do not have photos documenting the creation process but the steps were pretty easy!  I took a 12x12 piece of black card stock and marked the deminsions of the box. I cut where needed and then used my score blade and made creases to fold the paper so that it covered and took the shape of the box.  I did overlap the one side so that I could adhere it together.  This is very important as you do not want to place adhesive on the box of candy or it will not be able to truly 'slip' off the box. I knew I wanted to use the Hannah Montana Cricut cartridge for the wording.  I highly recommend this cartridge to all Cricut users.  I am not exactly a fan of Hannah but it actually includes 5 different fonts so it is so worth the purchase! The letters in 'you' were individually cut out followed by the word 'Rock'  I just love it! Of course I needed to make it a bit more fancy so after adhering the letters and word, I added some rhinestones and embellished with my white pen.  And...ta-da! I think I rocked it! This was indeed a hit and made my co-worker's day!  Totally worth the time and effort.  Now if I only had purchased myself some Reeses peices!


Wednesday, January 11, 2012

I'm back!

I hereby announce that I have returned to blogging at forever fancy. You might be wondering why there has been such a lapse in time from my last entry.  I believe in humility and telling the honest truth...so here it is from my heart.  The reason I have not posted lately is because I was feeling defeated.  You know how it goes, let one day pass, then another and before you know it, a whole month has gone by.  If you know my heart, you know that the description of 'fancy' that describes my character should also include 'perfectionist'.  I know it is completely silly but that is the way my brain works.  I got behind.  I thought of excuses. My dear grandmother passed away the day before Thanksgiving. I went to Iowa for the services. The calendar got full and the holidays came.  The more time that passed made it harder to want to post, even though I felt a small part of creative outlet was missing.  So I decided today to throw out the "I must complete x y, and z before I can begin posting on the blog again" list and well...here I am!! Thank you for being patient and understanding!  Ya know, there might be another season of life when there is a time lapse of posting and I will be okay with it.  After all, the current goal of my blog posting is to document my life journey and the things that make it forever fancy!  So cheers to a new year, a new start, and new blog posts!!

{MWW} Chicken Puffs


Back in May, my dear friend Jade hosted a Recipe Exchange.  This was by far one of the best types of parties I have ever attended!  You can make it as simple or sophisticated as you wish (or have time for!)  Jade created a Facebook event page and set an RSVP date.  If you committed to attending, you emailed a recipe to Jade ahead of time and then prepared that dish and brought it ready to enjoy at the party.  The event itself included two of my favorite past times:  eat and socialize!  Once again, you can go mild to wild during your planning and request the prepared items to just be entrees, or dishes made with chicken.  You can choose to sit around and just enjoy the friendship of your guests or do cooking trivia or request an appitizer, salad, entree and dessert and have a dinner party.  This type of party is so fun as you personalize it to your style and taste (literally!)  Our party favor was a cute little index card flip book on a Dring that included all of the recipes represented at the party. Maybe I will have to host my own recipe exchange in the near future!  Have you ever hosted such party?  Leave me a comment as I would love to hear about it!

{Okay...back to the chicken puffs!}
 The chicken puffs were prepared for Jade's party by her friend, Shannon.  They always say the way into a man's heart is through food; the way into my heart is to provide dinner rolls, croissants or other bread type item with the meal you are serving.  These amazing chicken puffs are simply chicken rolled up in croissant!  Yum...I can just imagine the warm croissant now with tasty chicken.  Seriously, it is so easy to make and I would guarantee {almost} every child would like them as well.  At  least the children present at the exchange did!  I even made these when my father-in-law was visiting and I later received a call from my mother-in-law requesting the recipe as my father-in-law was craving them for dinner following his stay.
I am sure after reading all of that, you want to know how to make them...right?!  Here is the recipe.  The document is a .jpg so you should be able to click on it and save or print right on your computer.  This will keep you from having to write it down!  I do apologize for the small font size.  Below I have documented the creation process and steps.

Preheat oven to 375 degrees
(or whatever the croissant cooking directions state)


Ingredients:
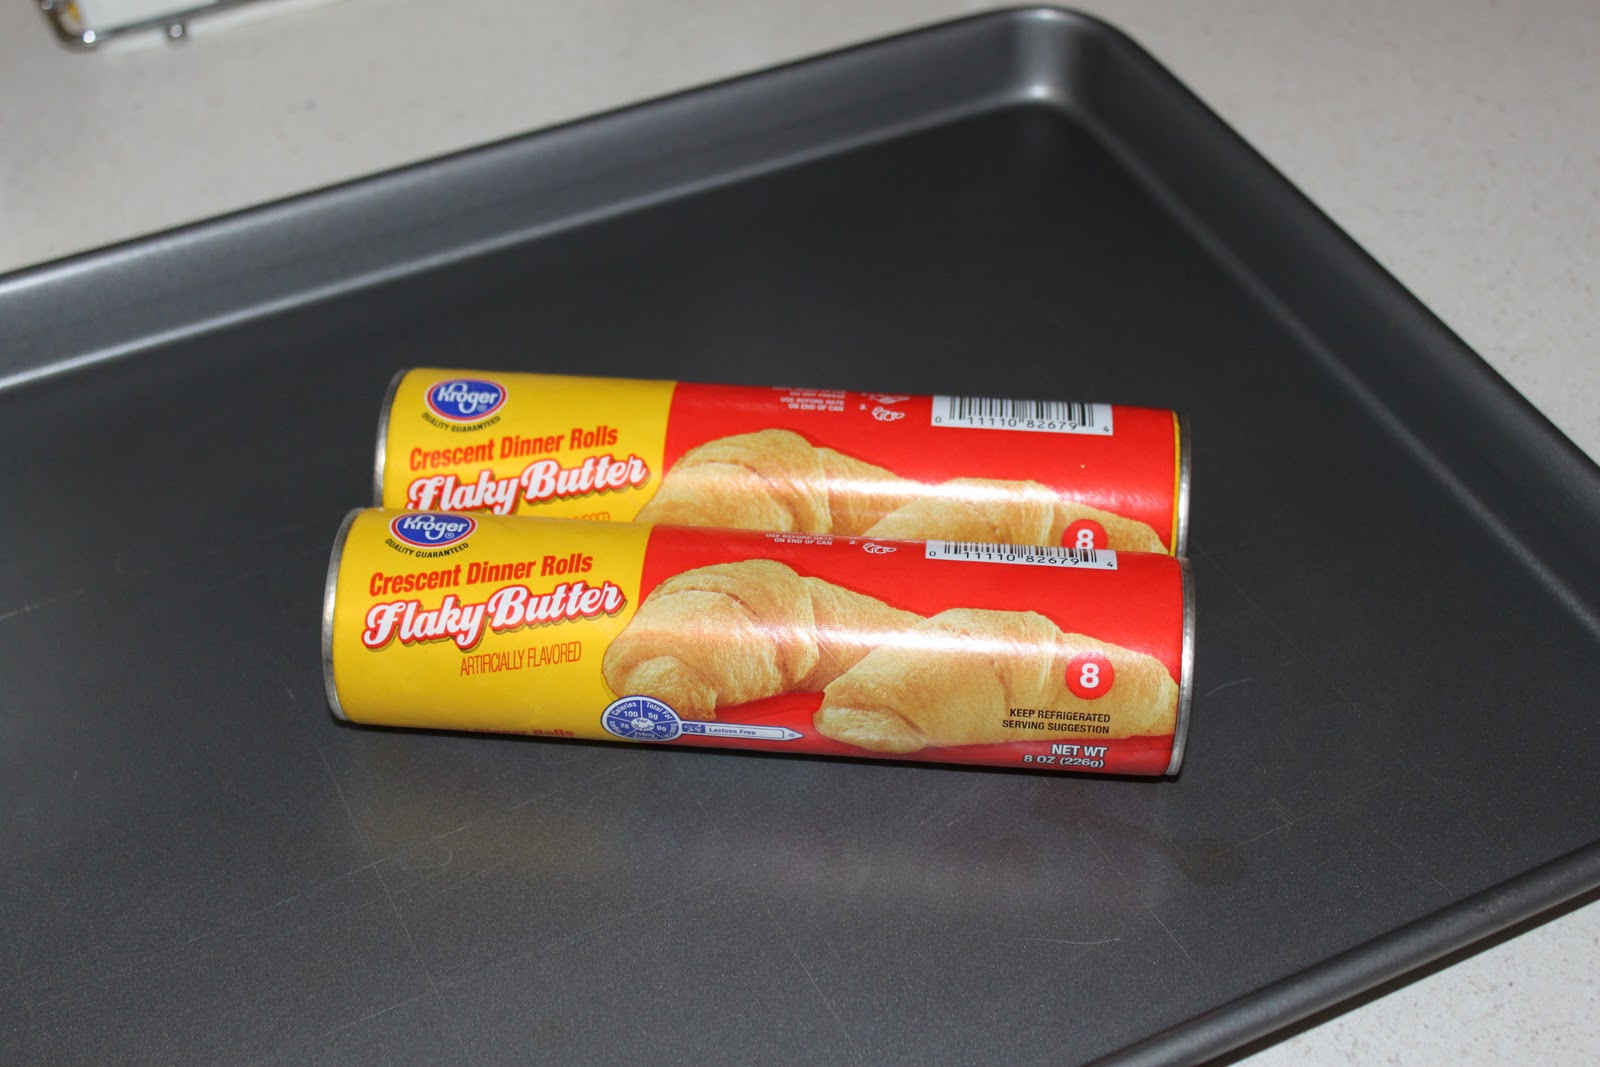
Two tubes of croissant dough
 

3 large chicken breasts 
8oz. Cream cheese 
Seasoning salt 
1T Vegetable oil
aluminum foil

Cut chicken into cubes.

Place vegetable oil in a skillet pan.  Heat.
Cook chicken over medium-high heat until no longer pink. 
Turn off burner. Drain any liquid from the pan.

While chicken is still hot add cream cheese and stir so it melts over chicken.
{Lesson learned: easiest to melt over chicken when cream cheese block is cut into cubes}


Add seasoning salt to taste.


Open croissants leaving 2  triangle pieces together to make a square.

Place chicken filling in the middle of the croissant 

 & close croissant edges around it.

Consult the baking time on the croissant packaging and
cook for time given or until croissants are golden brown

Cool and enjoy! 
Related Posts Plugin for WordPress, Blogger...